Flowers can really complete a beautiful table, and creating your own arrangement is easier than you think! I typically use faux floral stems when I create a floral design, as they tend to be easier to use than live flowers and can provide me with more options for an arrangement given seasonality of specific blooms. Using faux florals also allows me to make the arrangement well ahead of the actual day of event without wilting, and I can use any “vase” I want without trying to accommodate water.
Investing in some quality faux florals gives you flexibility when flower arranging for different table designs, and stores like Michael’s and websites like Afloral.com have wonderful real touch flowers that I use over and over again in different arrangements. That said, live flowers are a beautiful and fresh option, so use what works for you and your event day.
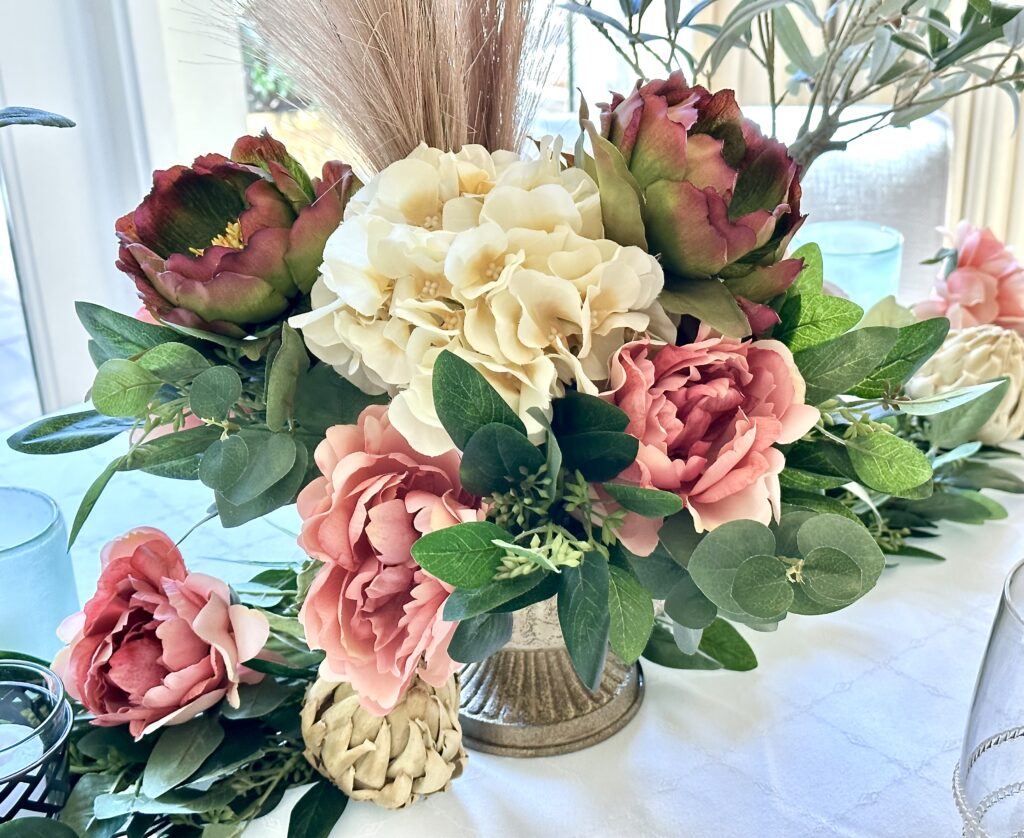
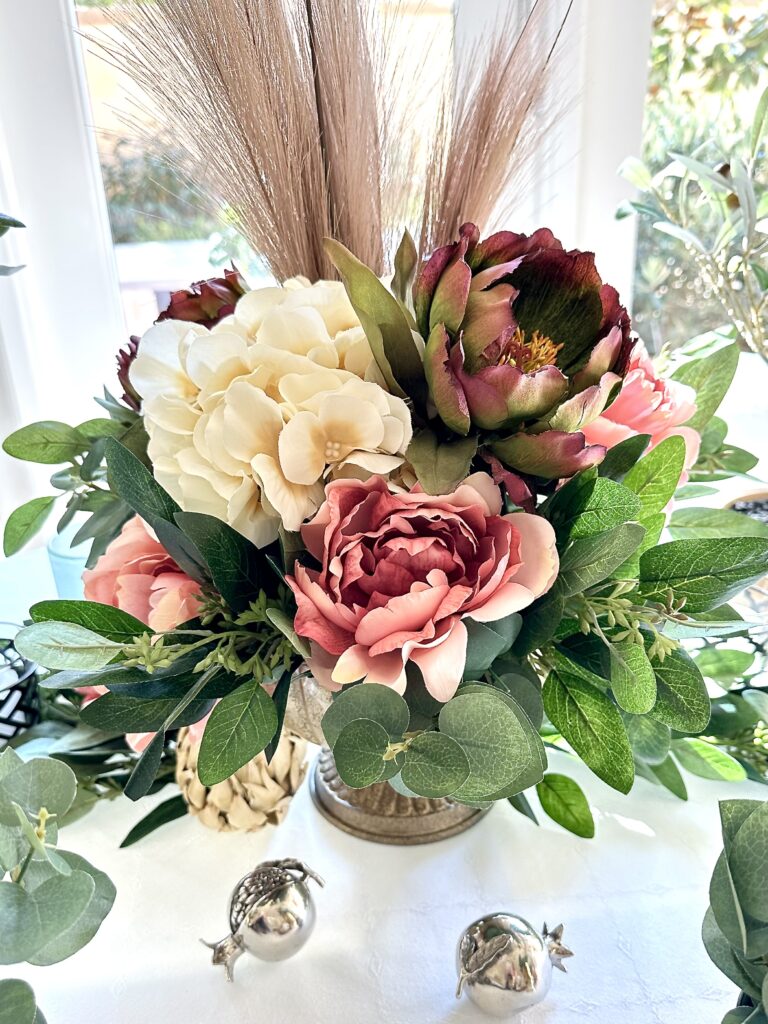
For this Fall floral arrangement, my theme was earthy Fall jewel tones, so all of the elements I chose felt fresh and a little organic, even with the choice of my footed bowl.

Set the foundation for your flowers
To start any arrangement, I create a landing place for the flowers. For this design, because I’m using a footed bowl, I added some floral sticky clay to the bottom to anchor my floral frog that will hold the flowers and greenery stems. Then, using clear floral tape, I lay a grid over the top as a guide for the flowers.
Once I have a framework to work with, I start adding greenery as the base for the arrangement.
A quick note here on greenery – sometimes, you just won’t need it, and it can crowd the design given the look you’re going for. I did an arrangement for our anniversary table that was largely varying colors and sized of roses and it didn’t need any green stems to make it wow.
Adding stems to the floral design
When you do use greenery stems, you can typically just use one type of greenery, but two will give you added texture. For this arrangement, I used the both seeded and spiral eucalyptus stems and started adding clusters of them at different spaces along the base of the bowl, then added some additional greenery to the center of the space to work more flowers around later.
Now it’s time to add the flowers. Start with the large ones first so you can tuck the small stems in between and fill in the arrangement, while also giving it some additional visual interest.
For this design, I used large cream-colored hydrangea stems as my main flower, then added peachy pink peonies to fill in some gaps.
Once the main flowers were placed in the arrangement, I used smaller, secondary flowers to add color. Here, I used burgundy peony stems with dark green edges.

Finishing touches
For the finishing touches, you can add some taller stems of something that aligns to the color palette and design theme while adding some new texture (like berries, or other fruit stems), or natural elements. For this Fall floral design, I use pieces of taupe pampas – they added a nice organic texture to the final arrangement.
This Fall arrangement came together perfectly for the look I wanted for our early seasonal celebrations. Starting the process is always a little daunting – I’m no floral designer! – but once I get started it tends to come together. I find that having a sketch is helpful, as well as having the right tools laid out before I start.
Here’s to your next beautiful floral arrangement, and until next time, Cheers!


